Home Assistant: Z-Wave Setup Guide
A Z-Wave focused automation system
I’ll be basing my automation system (and this guide) on the Z-Wave protocol due to its performance and large number of compatible devices. You may intend to use another protocol such as ZigBee, which will work well too. And you can apply the same general processes equally successfully to whichever protocol you wish, only the nuances in each step will differ. That’s what’s great about Home Assistant!
My compatible devices:
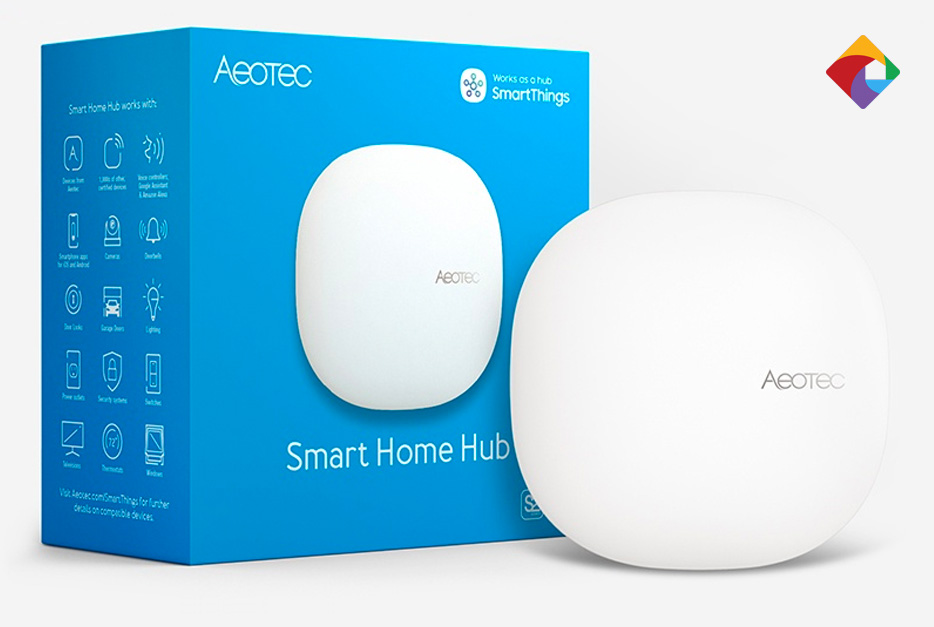
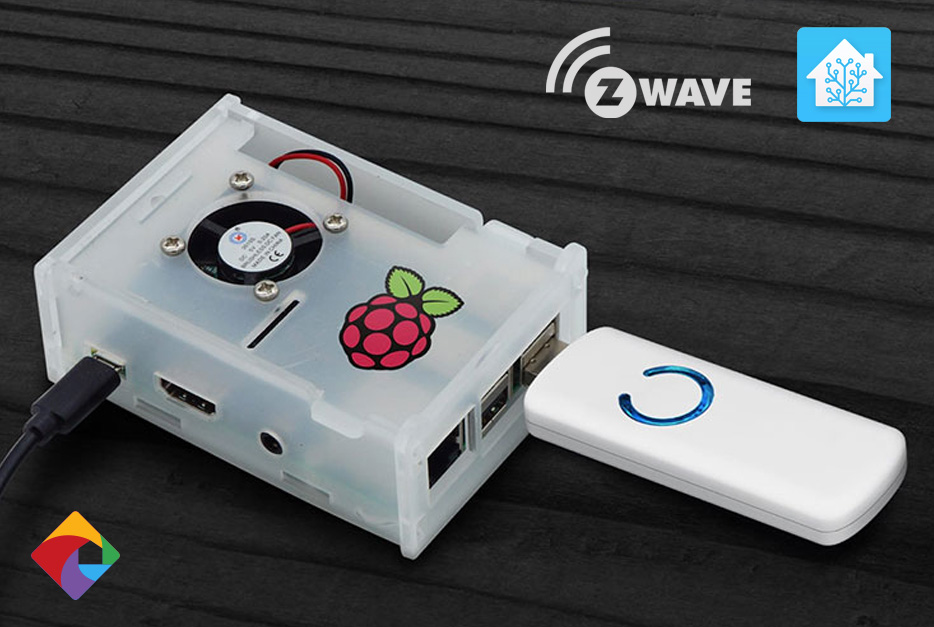
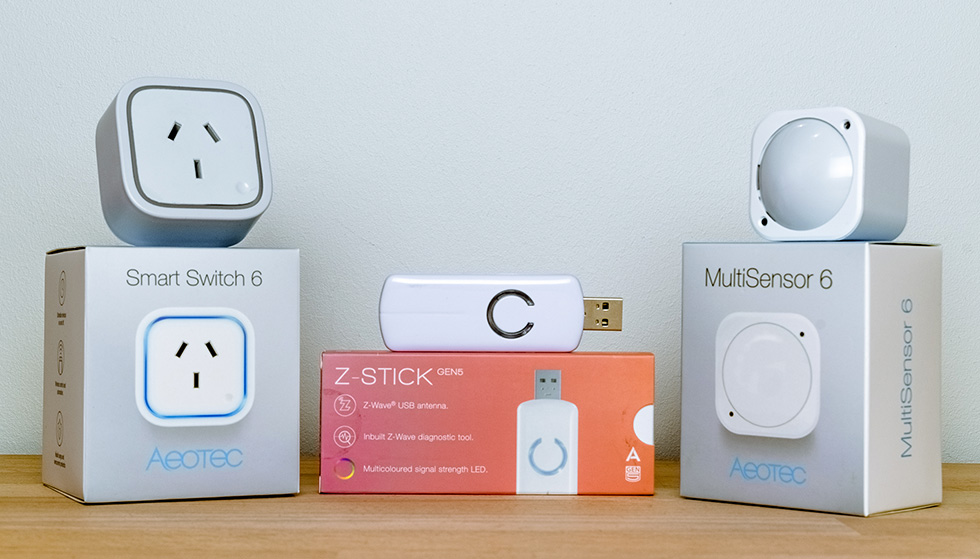
- Aeotec Z-Stick (Z-Wave controller)
- MultiSensor 6 (trigger device)
- Smart Switch 6 (action device)
We can configure Home Assistant to work with Z-Wave in one of two ways. The first takes advantage of the recent advancements to Home Assistant’s user-interface, while the second is the more primitive, code/text based approach.
We’ll be dealing with the former as it’s significantly more user-friendly, and the code-based approach has been covered extensively by other sources. Forewarning if you choose the code route : While it’s more versatile as it gives you granular control, be ready to strap yourself in for some coffee-fuelled late nights until you learn the system.
Now… to Home Assistant!
Step 1: Integrating Z-Wave the easy way
- Connect to Home Assistant using your web-browser (either through http://hassio.local:8123 or the IP address in the format http://XXX.XXX.XXX.XXX:8123)
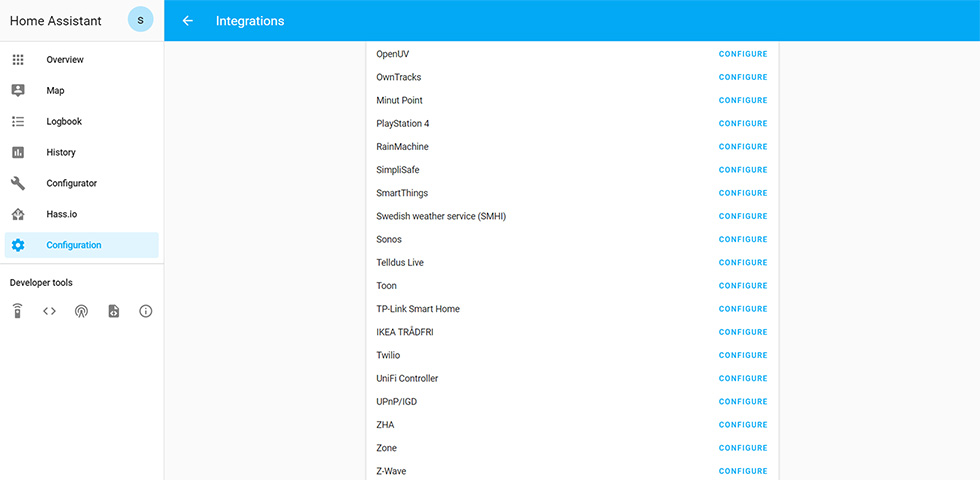
- Locate the Z-Wave integration
- Select ‘Configure’
- Fill out the parameters
- Click ‘Submit’
As our goal is to set-up a Z-Wave network, we’ll follow the above process (with some specific additions shown below) to integrate Z-Wave. If at any time you find yourself unsure of something, refer to Home Assistant’s official Z-Wave documentation.
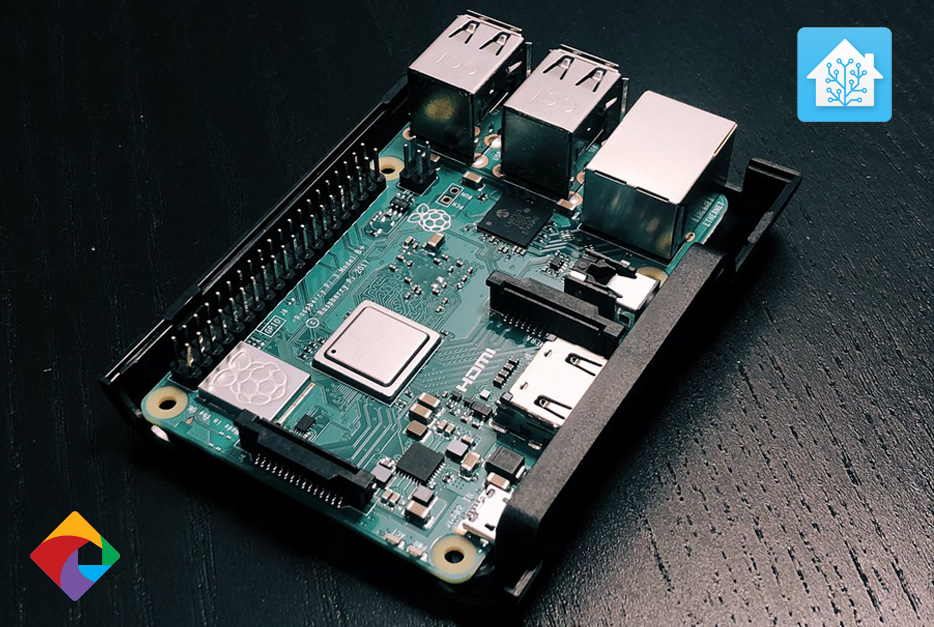
- 1. Plug your Aeotec Z-Stick into your Raspberry Pi’s USB port
- 2. Connect to Home Assistant using your web-browser
- 3. Select ‘Configuration’ on the left hand taskbar
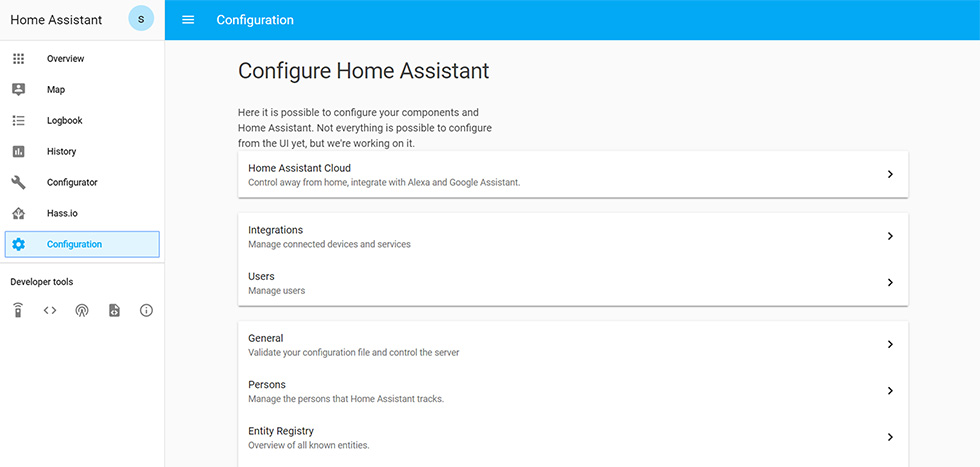
- 4. Navigate to ‘integrations’, locate the Z-Wave integration and select 'Configure'
- 5. Modify the USB path to the reflect the location of the Z-Wave stick. This is typically: /dev/ttyACM0
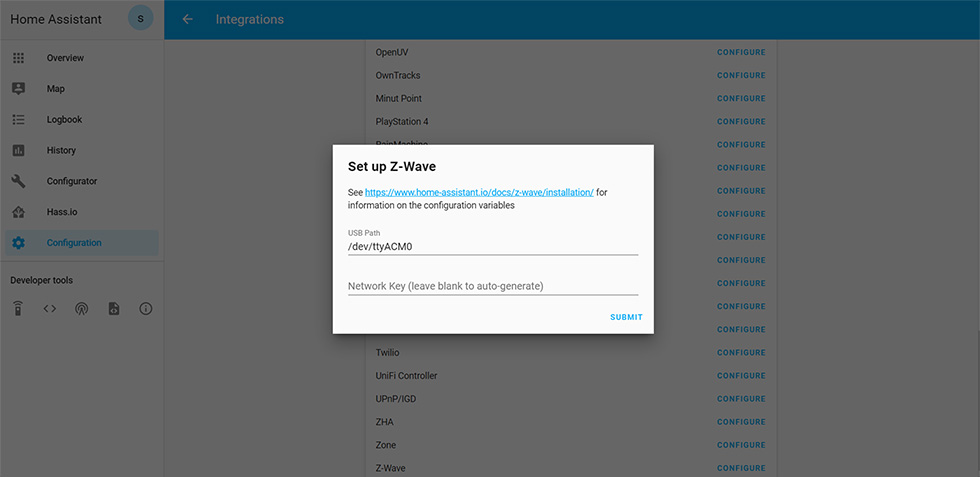
- 6. Click ‘Submit’
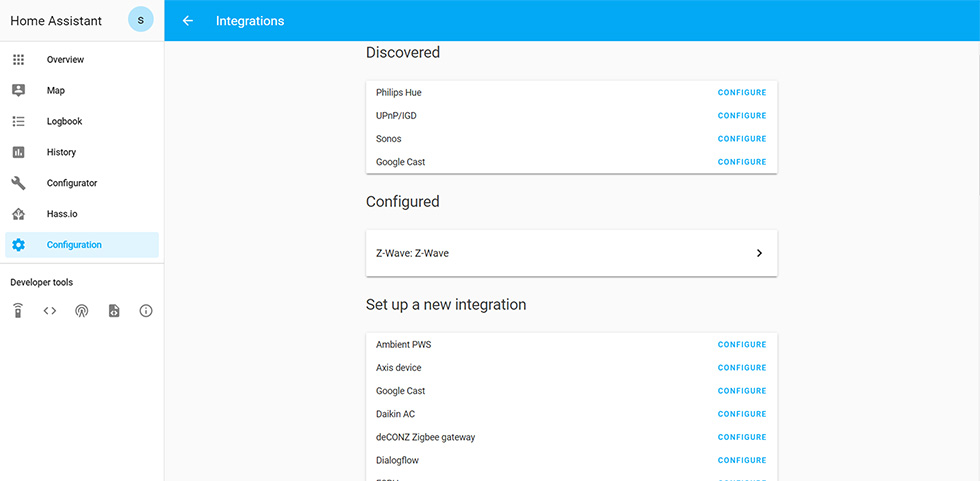
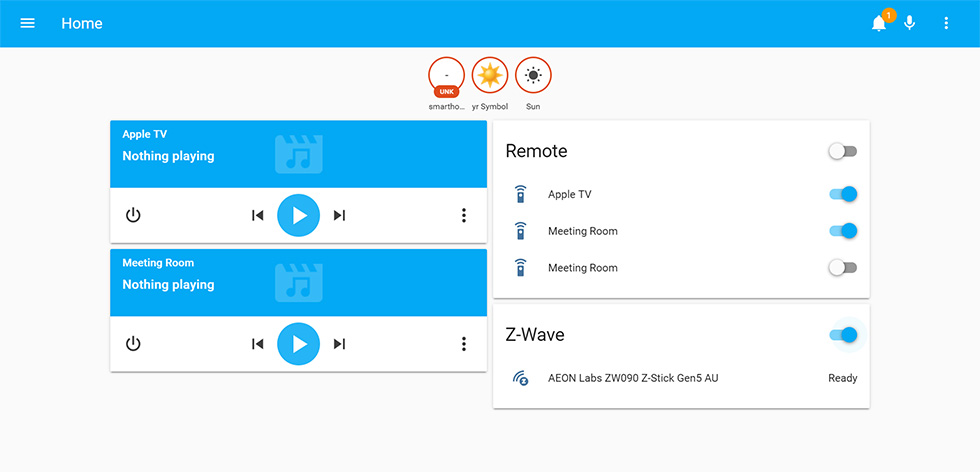
- 7. Confirm the integration is successful by citing Z-Wave on your Dashboard
Step 2: Pairing/Including Z-Wave Devices
- 1. Select the ‘Configuration’ tab on the menu bar
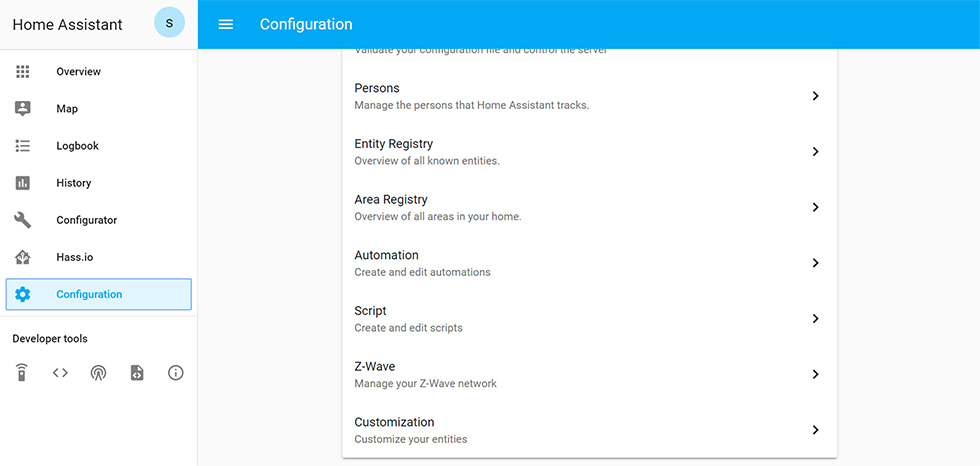
- 2. Select ‘Z-Wave’, which takes you to the Z-Wave Network Management Screen
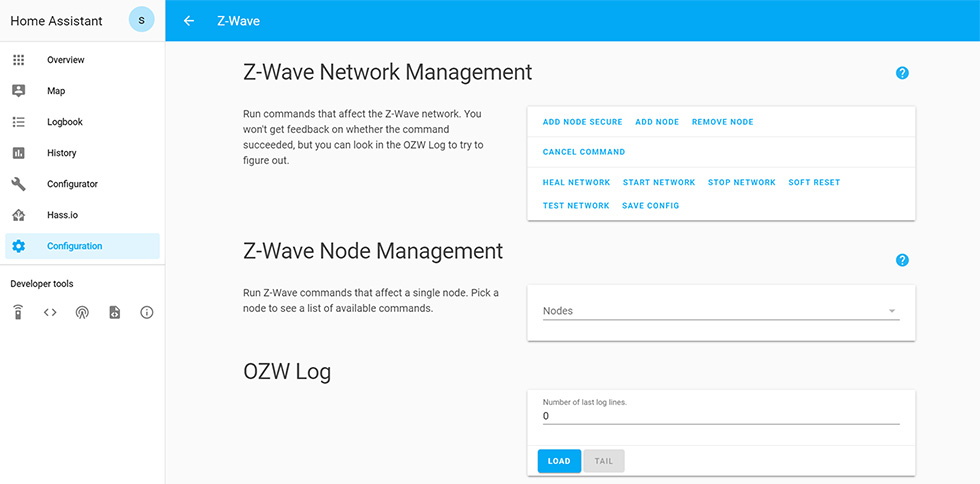
- 3. Click the START NETWORK button to initialise the Z-Wave network
- 4. Click the ADD NODE button to enable devices to be added to the network
- 5. Grab your Z-Wave device.
- 6. Follow your device's ‘inclusion’ procedure. Refer to the instruction manual if needed
- 7. Click the HEAL NETWORK button
- 8. Navigate to the Home Assistant Dashboard and verify your devices have been added under Z-Wave
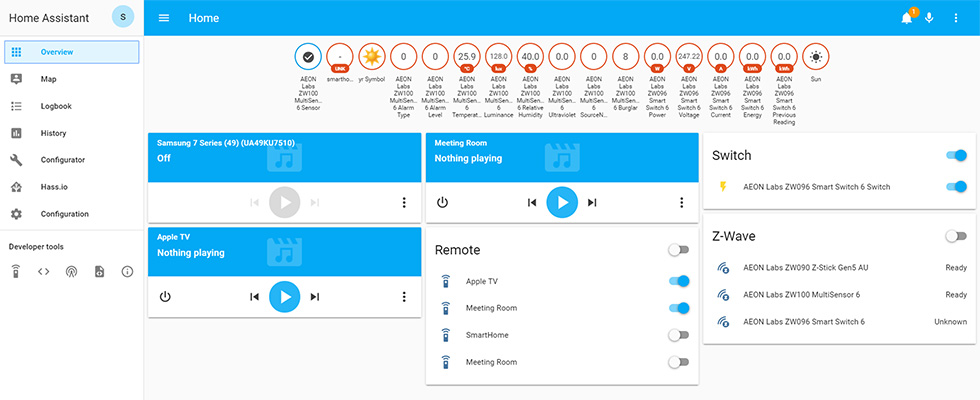
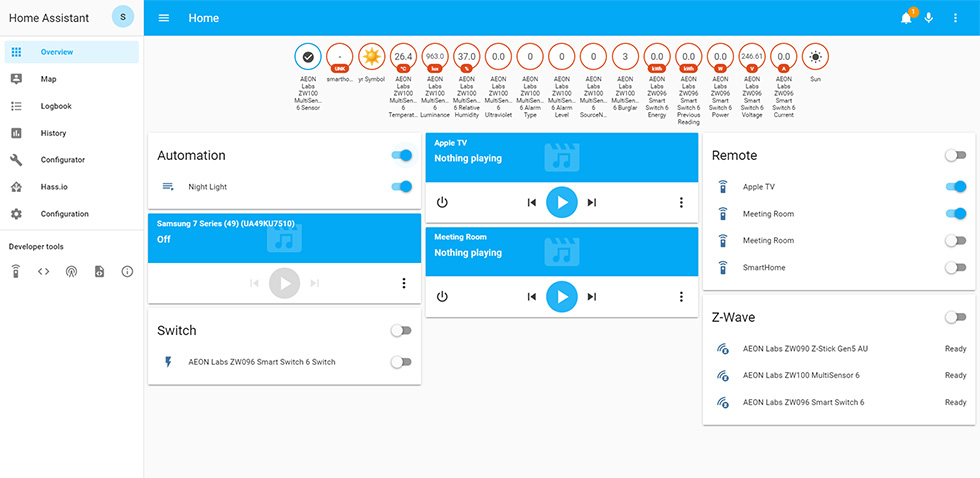
I’ve gone ahead and added my MultiSensor 6 and Smart Switch 6 to the network, and to confirm correct operation, toggled my Smart Switch 6 ON/OFF using the blue button.
Step 3: Automating
With the devices successfully added to the network, we can now set up our first automation. But first, what is an automation? And what is required to make it work?
Every automation consists of a trigger, a condition (optional) and an action. Generally speaking, the trigger sets in motion predetermined actions that occur automatically upon its activation. While this may be suitable in some applications, in others it’s beneficial to have greater control. We can gain this control by adding a condition. Then, the action will only be executed once the trigger and condition are met.
General Process for Configuring an Automation:
Step 1: Identify and Verify the Action:
- Navigate to the Services page using the SERVICES tool (left most developer tool)
- Select the Service you wish to be the 'action' of your Automation
- Ensure the 'action' is working correctly by using Home Assistant's CALL SERVICE feature
- Copy the Service Data for later. We'll paste it into a field in while configuring our automation
Step 2: Identify and Verify the Trigger:
- Navigate to the States page using the STATES tool (next to Services developer tool)
- Scroll down the list until you find the device/parameter you wish to act as the trigger for your automation
Step 3: Configuring the Automation:
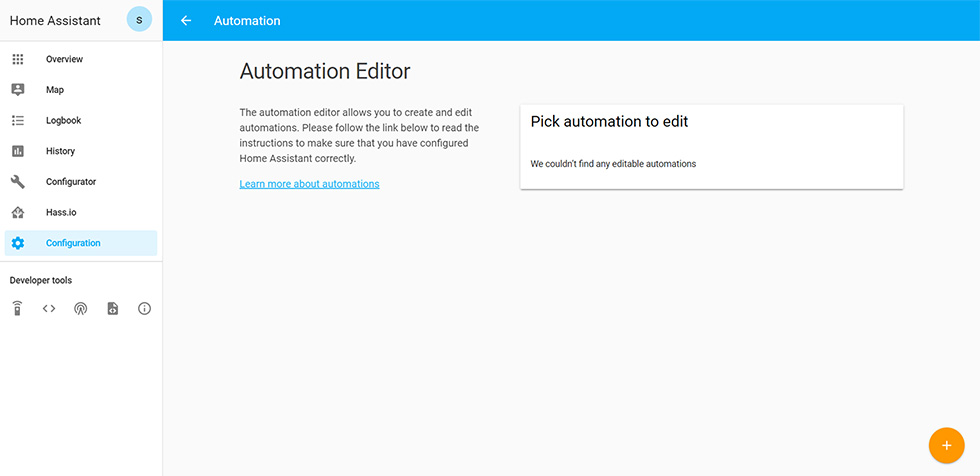
- Navigate to ‘Configuration’
- Navigate to ‘Automation'
- Click the Add New Automation button (Orange button in bottom right corner)
- Assign the automation an appropriate name
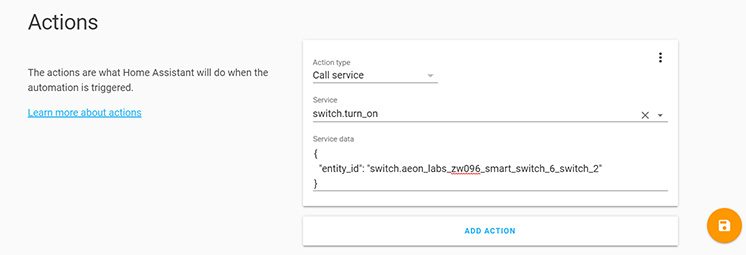
- Configure the trigger (found in Step 2)
- Configure the action (found in Step 1)
- Verify the automation works
- If you'd like to further contain the automation, configure any additional conditions (optional)
An example automation:
Let’s say we want to turn on our bedroom lamp (which we have connected to the Smart Switch 6) upon a low level of light being detected by our MultiSensor 6 (it’s dark outside).
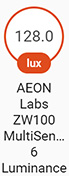
We can use our MultiSensor 6 to detect the amount of ambient light, the value of which is stored in the luminance (lux) parameter. The working range of the luminance parameter is between 0 (dark) to 30000 (full sun).
We know (from observing the luminance values) that we normally turn our bedroom light on when luminance is below 1000. We can then have the Smart Switch 6 turn ON the lamp (action) when a luminance value of below 1000 is detected (trigger). Awesome.
As the weeks pass and the dark winter months arrive, we more frequently notice the bedroom light is ON during the day. However, we only wish it to be turned ON in the evenings. To do this, we can simply add the condition that prevents the automation from triggering before 6pm each day.
Now, our bedroom light will only turn ON when a value of less than 1000 luminance is detected and it’s after 6pm. Perfect. Now, let’s make it happen using Home Assistant.
Configuring Home Assistant to Execute the Example
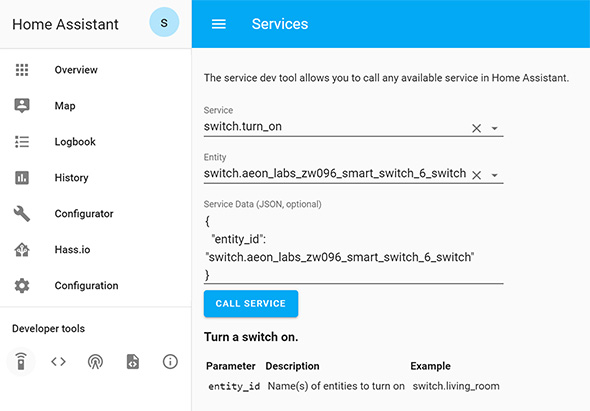
Identify and Verify the Action
- Scroll down the Service List to find the desired service
- As the automation requires we turn ON a switch, the service 'switch.turn_on' should be selected
- Select the entity (desired device) the service will be applied to. For this example, it's the Smart Switch 6
- This will automatically populate the Service Data with the entity name, which we'll copy in preparation for the Configuring the Automation step
- Hit the CALL SERVICE button to verify the service is working properly
Configuring the Automation
Give your automation a name and select the trigger type. There are a variety of possible trigger types each with their own specific use. If you’re unsure which trigger to use, be sure to visit the documentation.
For this example, the applicable trigger type of the Multi Sensor 6’s luminance parameter is Numeric_State. This trigger type allows us to set a lower or upper limit to the luminance parameter (recall the range is 0-30000) that will trigger the automation.

To configure this, select the appropriate entity (sensor.aeon_labs_zw100_multisensor_6_luminance_2) and set the trigger limit. My preference is to have the automation trigger when luminance is below 1000, so I enter 1000 in to the below limit.
We can verify this automation works by navigating to the Home Assistant Dashboard. Ensure the automation is enabled and the Smart Switch 6 is turned OFF. Next, place the Multi Sensor 6 in full sun and press the wake-up button.
You should see the luminance at a value is around 30000. All that’s left is to place our hand over the Multi Sensor 6’s sensor and press the wake-up button. Luminance will now be below 1000 and the automation will trigger, turning ON the Smart Switch 6.
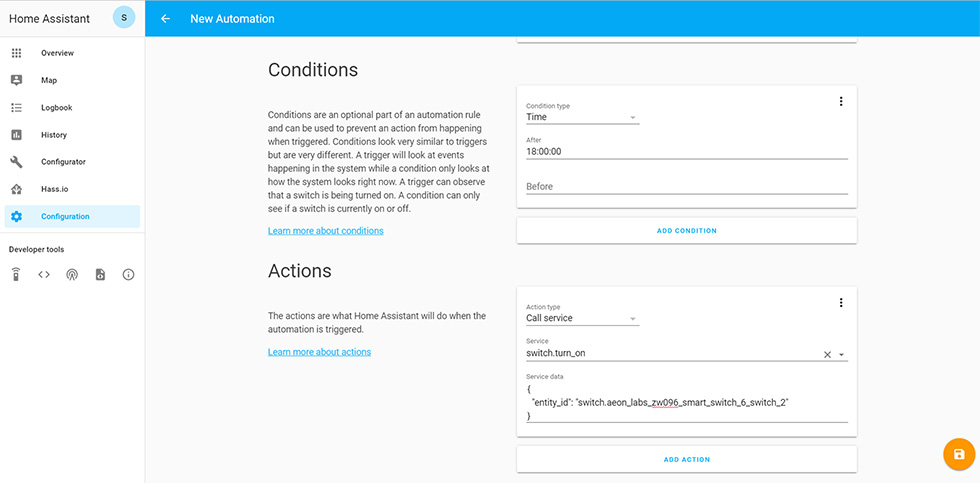
To do this, return to your newly created automation and add a time condition, and voila… it will work as intended.
From here, you can go on and create a whole list of automations based on your needs. Just remember to approach this process methodically and bit-by-bit to avoid confusion. Find the appropriate triggers, actions and conditions for your devices and refer to the documentation (located to the left of the respective boxes) to learn how to configure them correctly and you’ll be well on your way to mastering Home Assistant.
That's a wrap
I hope this guide helped ease the process of configuring your first automation with Home Assistant. If you have found a nicer solution, run in to any issues or have some handy tips, drop a comment below. We always look forward to your input.
Best regards,
Luke